Simplifying the Process of Replacing Weed Whacker Line
Replacing the line on a weed whacker is often seen as a frustrating task. Many traditional string trimmer heads require full disassembly, winding the line manually, and carefully threading it through small openings. This can quickly become a test of patience, especially when the line gets tangled or slips during the process.
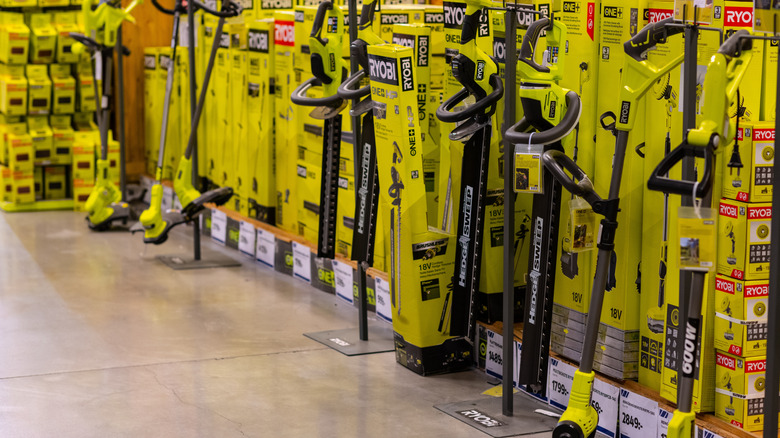
Some of the best Ryobi weed whackers aim to solve these issues with the Reel Easy+ string head. This innovative design features a simpler reloading mechanism that is more efficient and user-friendly. The speed winder head allows for quick line replacement without the need to disassemble the entire unit.
The system works with pre-cut line segments, but it also offers bulk line that you can measure and cut yourself. The design includes clear arrows and pre-marked eyelets, which eliminate the guesswork involved in feeding the line through. It’s also important to know how often you should be changing the string on your weed whacker to avoid wasting money on unnecessary replacements. Even with this simplified system, incorrect loading can lead to uneven line distribution, so it’s crucial to follow the correct steps for a proper replacement. When done correctly, the process takes just a couple of minutes, which is a significant improvement over traditional trimmer heads that often require pliers, screwdrivers, and considerable patience.
Step-by-Step Guide to Loading Your Ryobi Weed Whacker
To load the line in a Ryobi string trimmer, start by removing the battery to ensure there is no power going to the device. Next, cut about 16 feet of trimmer line from a bulk spool, or have a pre-cut segment ready. Align the arrow on the trimmer head with the openings so you can see straight through the head. This ensures that the internal parts are in the correct position for line-feeding.
Insert one end of the string through the hole until it pops out the other side, then pull so that equal lengths stick out of both sides. With the line threaded, grab the small crank tool that comes with your trimmer and attach it to the center of the spool. Rotate clockwise, following the arrows, and you will see the string begin to feed into the head. Once you’ve got about 6 to 8 inches of line hanging out on either side, you can stop.
If the string becomes jammed or you encounter too much resistance, detach the entire head by pressing down on it while turning it counterclockwise. Clean away any debris inside, untangle the line, and reassemble by aligning the arrows again and twisting until it locks. You can also try soaking your weed eater string if it has been sitting in your garage for too long, which can help make it more pliable.
Benefits of Ryobi’s Design
While no system is completely foolproof, Ryobi’s design certainly minimizes common frustrations when it comes to replacing the string in your weed whacker. It helps you get back to lawn work much faster and with less hassle. Whether you’re a seasoned gardener or a beginner, this streamlined process makes maintaining your equipment more manageable and less time-consuming.
By using the Reel Easy+ string head, users can enjoy a more straightforward and efficient way to keep their trimmers in good working condition. The combination of pre-marked components, clear instructions, and a user-friendly design makes it easier than ever to handle this routine maintenance task. With a little practice, even those who have struggled with traditional methods can find confidence in their ability to replace the line quickly and effectively.